Solution
To view movies that are saved on a computer as backup data on another device like a television, you can write back movies to the camcorder before connecting it to a television.
Here, we will show you how to write back movies that are stored on a computer to the camcorder.
IMPORTANT
To write back movies, the supplied PIXELA Application Disc Disc1 CD-ROM must be preinstalled on the computer.
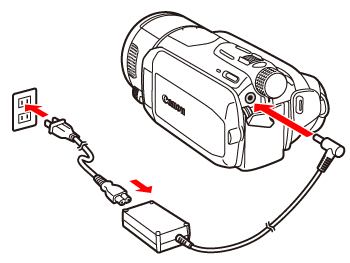
1.Connect the compact power adapter to the camcorder.
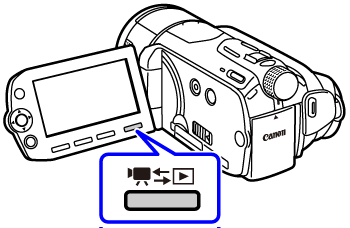
2.Press <

( camera/play ) > to switch to movie playback mode.
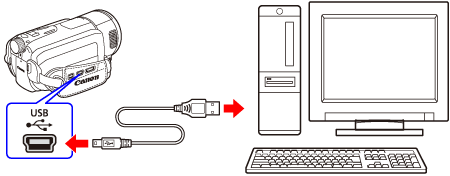
3.Use the supplied USB cable to connect the camcorder to a computer.
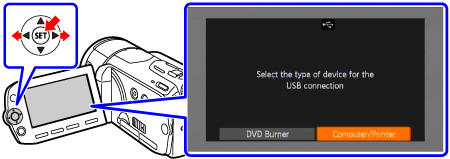
4.If the device type selection screen appears, select [ Computer/Printer ].
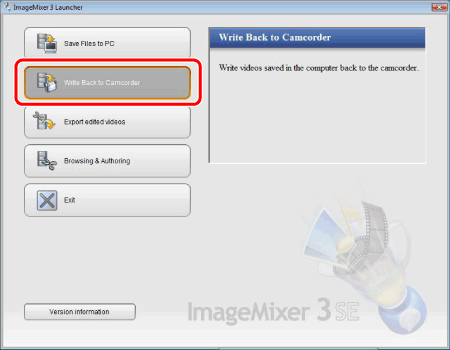
5. The [ ImageMixer 3 Launcher ] screen appears, so click the [ Write Back to Camcorder ] tab.
If the [ ImageMixer 3 Launcher ] screen does not appear automatically, double-click the desktop shortcut icon, or start [ ImageMixer 3 SE Ver.5 ] from the Start Menu.
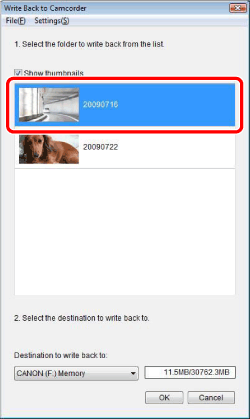
6. Select the folder to write back.
Writing back is performed by date folders. Videos are sorted by date automatically when importing from the camcorder to the computer.
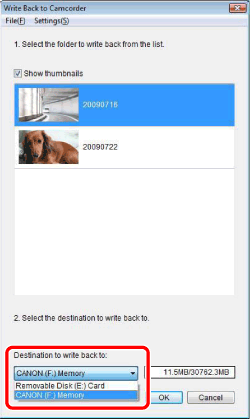
7. Select the destination to write back.
For the destination to write back, you can select from the camcorder's memory, or the SD card inserted in the camcorder.
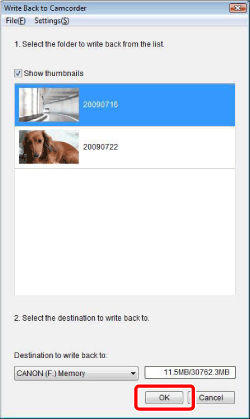
8. Click [ OK ].
You cannot cancel while the camcorder is in the writing back operation.
Do not disconnect the camcorder during writing back, otherwise the data may be damaged.
 ( camera/play ) > to switch to movie playback mode.