Loading Paper into the Paper Drawers
Solution
This section describes how to load paper in the paper drawer or in the optional paper drawer.
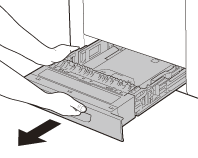
1. Pull out the paper drawer until it stops.
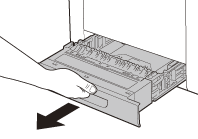
2. Hold the paper drawer with both hands and remove it from the machine.
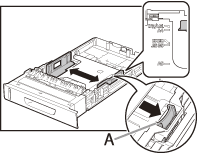
3. Hold the lock release lever of the side paper guides (A) and slide the guides to the mark for the size of the paper to be loaded. The side paper guides move together.
NOTE
Make sure to set the guides to the mark for the size of the paper to be loaded correctly. If the guides are positioned incorrectly, it may cause paper jams, dirty prints, etc.
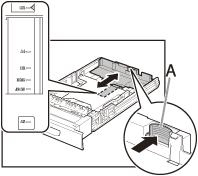
4. Hold the lock release lever of the rear paper guides (A) and slide the guides to the mark for the size of the paper to be loaded.
NOTE
Make sure to set the guides to the mark for the size of the paper to be loaded correctly. If the guides are positioned incorrectly, it may cause paper jams, dirty prints, etc.
5. Fan the paper stack and even the edges.
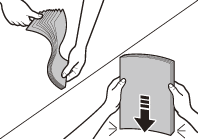
6. Load the paper stack of the appropriate size with the print side facing up. Align the rear edge of the paper stack with the rear paper guide.
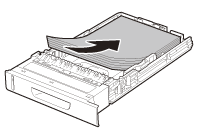
NOTE
Make sure the paper stack does not exceed the load limit mark (A).
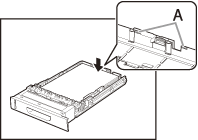
NOTE
The paper drawer holds approximately 250 sheets of paper (80㎡).
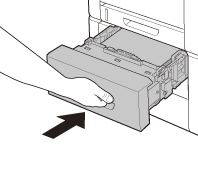
7. Hold the paper drawer with both hands and set it back into the machine.
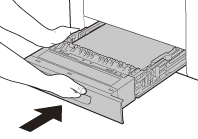
8. Push the paper drawer as far as it will go.
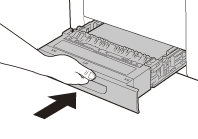
When the optional drawer is installed in the machine, follow the procedure described below.
1. Pull out the optional paper drawer until it stops.
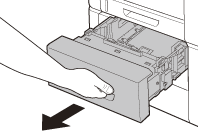
2. Hold the optional paper drawer with both hands and remove it from the machine.

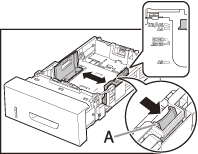
3. Hold the lock release lever of the side paper guides (A) and slide the guides to the mark for the size of the paper to be loaded. The side paper guides move together.
NOTE
Make sure to set the guides to the mark for the size of the paper to be loaded correctly. If the guides are positioned incorrectly, it may cause paper jams, dirty prints, etc.
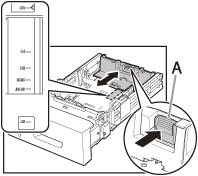
4. Hold the lock release lever of the rear paper guides (A) and slide the guides to the mark for the size of the paper to be loaded.
NOTE
Make sure to set the guides to the mark for the size of the paper to be loaded correctly. If the guides are positioned incorrectly, it may cause paper jams, dirty prints, etc.
5. Fan the paper stack and even the edges.

6. Load the paper stack of the appropriate size with the print side facing up. Align the rear edge of paper stack with the rear paper guide.

NOTE
Make sure the paper stack does not exceed the load limit mark (A).

NOTE
The optional paper drawer holds approximately 500 sheets of paper (80 g/㎡).
7. Hold the optional paper drawer with both hands and set it back into the machine.
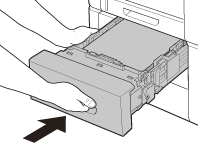
8. Push the paper drawer as far as it will go.
