Solution
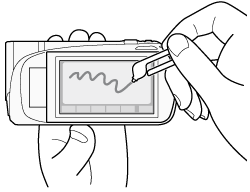
Add a new level of enjoyment to scenes by decorating them. You can add animated graphics, stamps, even your own drawings with the supplied stylus pen, and more!
NOTE
You can open the decoration screen when the LCD panel is stowed with the LCD screen facing away from the camcorder. In such case, make sure [Autostart Decoration] is set to [On].
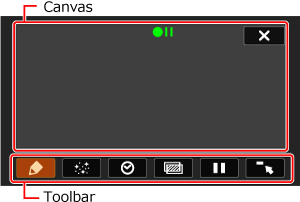
Displaying the decoration mode screen
1. Touch [

].
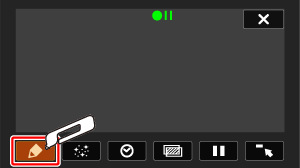
1. Touch [

].
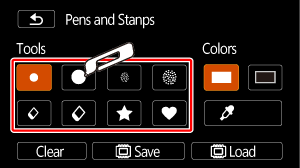
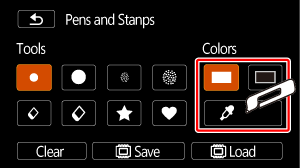
The [Pens and Stamps] screen will appear.
2. Select the desired pen or stamp from [Tools].
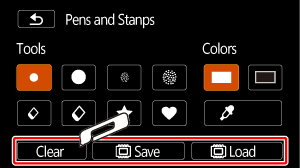
You can also clear the canvas, save a canvas or load a canvas.
Touch [

].
Select white or black from [Colors].
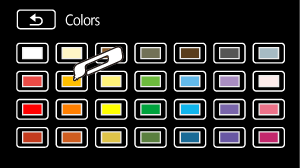
Alternatively, you can touch [

] and select a color from the displayed colors.
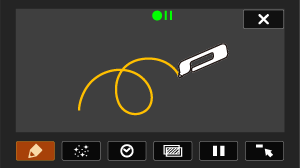
3. Draw on the canvas.
NOTE
The canvas with decorations can be deleted, saved, and loaded.
- You can save the decorated canvas right after a decorating action.
- If the memory that contains the canvas is initialized, the canvas will be deleted.
4. Press the <START/STOP> button to start shooting.
The lines and stamps drawn on the screen will be recorded on the scenes during recording.
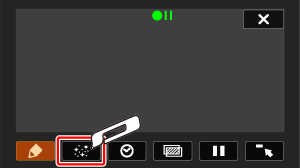
1. Touch [

].
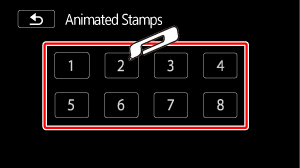
2. Select the desired stamp number.
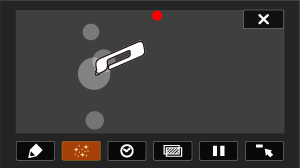
3. Press the <START/STOP> button to start shooting.
Touch a spot on the canvas to place the selected stamp.
NOTE
When the [Animated Stamps] tool is used, the date/time will not be displayed or recorded.
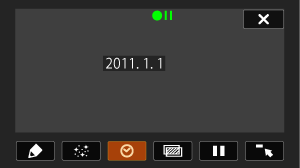
1. Touch [

].
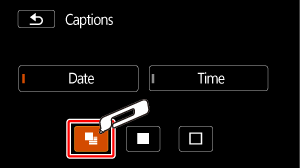
2. Touch [Date] or [Time].
3. You can also touch one of the three control buttons on the bottom to
change how the date/time is displayed. [

] places the date/time in a dark frame, [

] displays the date/time in white, [

] displays the date/time in black.
- The selected option will appear on the screen. Touch both control buttons to display both the date and time.
Touch the date or time and drag your finger to the desired location.
4. Press the <START/STOP> button to start shooting.
The date and/or time will be recorded together with the recording scenes.
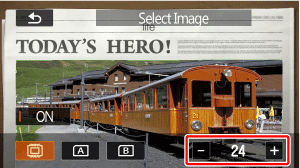
1. Touch [

].
2. Touch [ON].
You can touch one of the memory icons at the bottom of the screen to read image mix frames saved on a different memory (When recording on or playing back scenes from a memory card).
3. Touch [+] or [-] to select a different image, and then touch [

].
4. Press the <START/STOP> button to start shooting.
The image mix selected will be recorded together with the recording scenes.
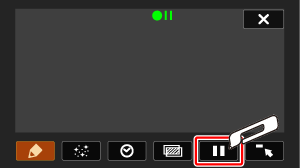
1. Touch [

].
- The control button will change to [
 ] and the picture will be frozen.
- Decorate the screen using the other tools in the palette.
2. Press the <START/STOP> button to start shooting.
- The decorations created will be recorded with recording scenes that are on pause.
- Press the <START/STOP> button, and decorations can also be recorded while being created.
Touch [

]. The screen will return to normal.
 ].
].


 ].
]. ].
].
 ].
]. ] and select a color from the displayed colors.
 ].
].
 ].
].

 ] places the date/time in a dark frame, [
  ] displays the date/time in white, [
  ] displays the date/time in black.
 ].
].

 ].
].
 ].
].
 ] and the picture will be frozen.
 ]. The screen will return to normal.