22-Sep-2011
8201084300
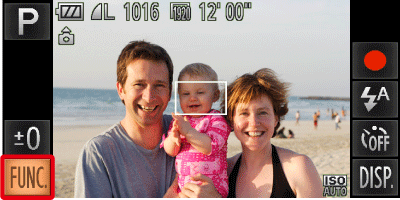
 ).
). 
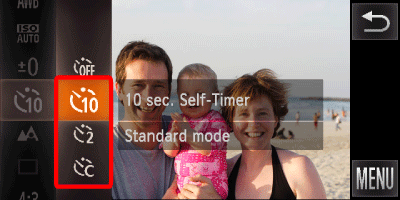
 ), [2 sec. Self-Timer] (
 ), [Custom Timer] (
 ).
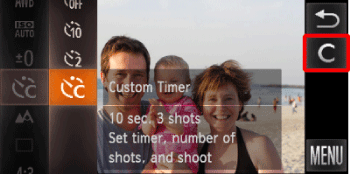
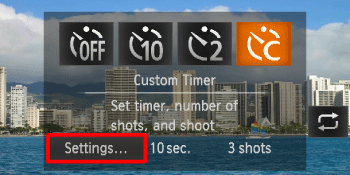
). ) is selected, Touch (
 ) on the right side of the screen, then you can set the delay (0 – 30 seconds) and the number of shots (1 – 10shots).
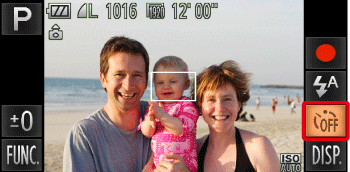
 ) icon displayed on the screen.
  ) icon is not displayed, please make the following settings.
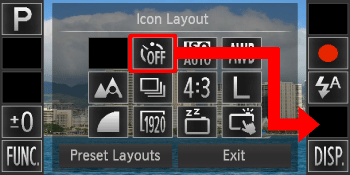
 ) icon to where you want it to appear.
  ) was chosen in this way, touch [Settings...] in the lower left, and then make the settings for the [Delay] and [Shots].
 ... No restrictions
 ... Cannot be set
 ... 0-second delay cannot be set
 |  |  |  |  |  | |||
|---|---|---|---|---|---|---|---|---|
IXUS 310 HS / 1100 HS |   |  |  |  |  |  |  | |
 | [Delay] |  |  |  |  |  |  | |
| [Shots] |  |  |  |  |  |  | ||
 ), the camera will use the face-detection function to perform various types of automatic shooting.
 ).)
).) ) and then press the <Power> button.
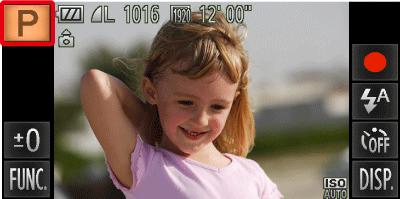
 ) will be displayed.)
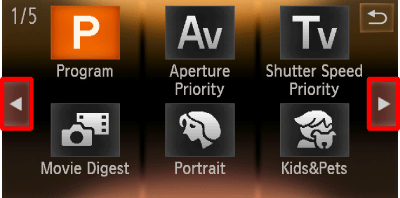

 or quickly drag left or right across the screen, other Shooting modes will appear.
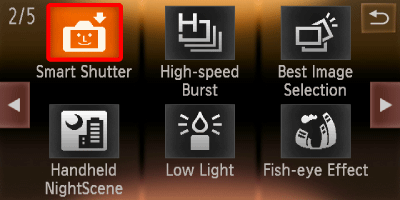
 ) on the second screen *.
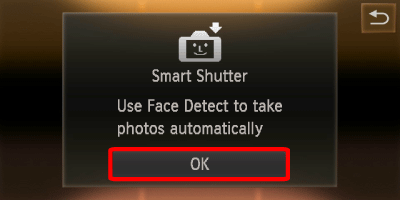
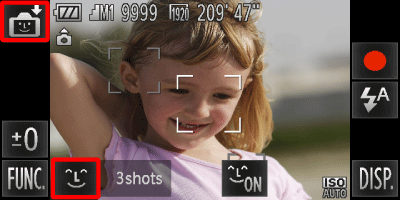
 ) on the lower-left hand side of the screen.
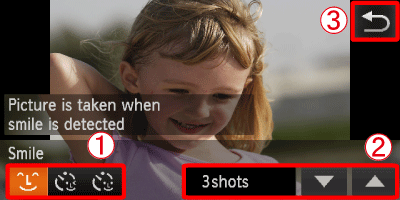
 Select a shooting mode from [Smile] (
 ), [Wink Self-Timer] (
 ), [FaceSelf-Timer] (
 ).
).  Touch
Touch  or
or  to select the number of shots.
 Touch
Touch  to make the setting.
(  ) ) | The camera will shoot, even without pressing the shutter button, when it detects a smile. |
- Touching ( ) will pause smile detection. Touch ( ) will pause smile detection. Touch ( ) to resume smile detection. ) to resume smile detection.- Each time the camera detects a smile it will shoot after the lamp lights. - If a smile is not detected, facing the camera and smiling with the mouth open to show some teeth will make it easier for the camera to detect the smile. - You should switch to another mode when you finish shooting, or the camera will continue taking shots each time the camera detects a smile. - You can also shoot by pressing the shutter button. |
(  ) ) | Point the camera at a person and press the shutter button fully. The camera will shoot approximately two seconds after it detects a wink. |
- Touch a face displayed on the screen to choose a person to wink (Touch AF). Confirm that a green frame appears around the face of the person who will wink. - Wink a bit slowly. - A wink may not be detected if eyes are covered by hair or a hat, or when wearing glasses. - Shutting both eyes will also be detected as a wink. - If a wink is not detected, the shutter will release approximately 15 seconds later. - If there are no people in the shot when the shutter button is pressed fully, the camera will shoot after a person enters the shot and winks. |
(  ) ) | The shutter will release approximately two seconds after the camera detects a new face. You can use this when the photographer wants to be in the image, such as a group photo. | - To cancel shooting with the timer after countdown has started, touch the screen. - Even if your face is not detected after joining the subjects, the shutter will release approximately 15 seconds later. |