11-Nov-2011
8201243200
| Operating results | Operating procedures | |||||||||||||||||||
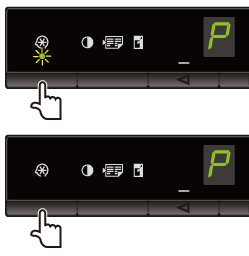
| 1 |  | Press [  ] (Menu setting key), and then start the menu operation. ] (Menu setting key), and then start the menu operation.When the menu is operating, the menu indicator blinks. | ||||||||||||||||||
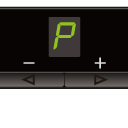
| 2 |  | Press [  ] or [ ] or [  ] until "P" is displayed. ] until "P" is displayed. | ||||||||||||||||||
| 3 |  | Press [  ], and set the menu to be able to change the
settings. ], and set the menu to be able to change the
settings. | ||||||||||||||||||
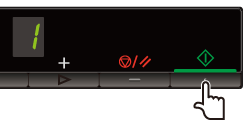
| 4 |  | Press [  ] or [ ] or [  ] to change the setting values. ] to change the setting values.The display and the paper types are matched as follows.
| ||||||||||||||||||
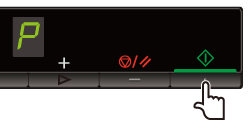
| 5 |  | Press [  ] to confirm the setting. ] to confirm the setting. | ||||||||||||||||||
| 6 |  | Press [  ] (Menu setting key) to exit the menu operation. ] (Menu setting key) to exit the menu operation.The menu indicator turns off. |
| [Name of Custom Paper Size] | Enter the register name of the custom paper size. You can enter up to thirty one characters. |
| [Unit] | Select the units to use when setting the custom paper size. |
| [Paper Size] | Set height and width ([Height] [Width]) of custom paper. Specify the paper size in portrait orientation ([Height] [Width]) and within the range that can be defined. |