21-Mar-2013
8201806000
 +
+  image’s JPEG image can be cropped.
 : RAW /
  : JPEG Large / <
 ><
><
 >: Cross keys / [
  ] Playback tab 2 / <
 >: Main Dial / <
 >: Setting button / <
 >: Magnify button / <
 >: Index/Reduce button / <
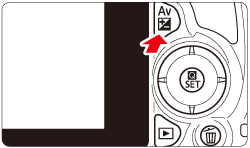
 >: Aperture/Exposure compensation button
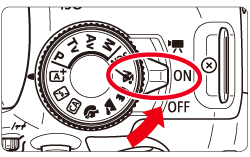
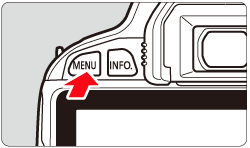

 > keys to select the [
  ] tab.
 > keys to select [Cropping], then press <
 >.
>.

 > keys to select the image you want to crop.
  > button, you can switch to the index display and select an image.
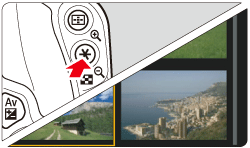
 > to display the cropping frame. Everything outside the cropping frame will be removed.
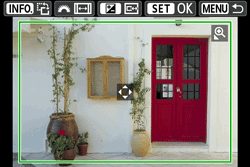
 > dial. Cropping frame aspect ratio will change to [3:2], [16:9], [4:3], or [1:1].
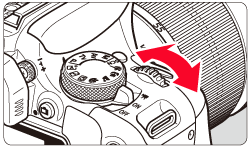
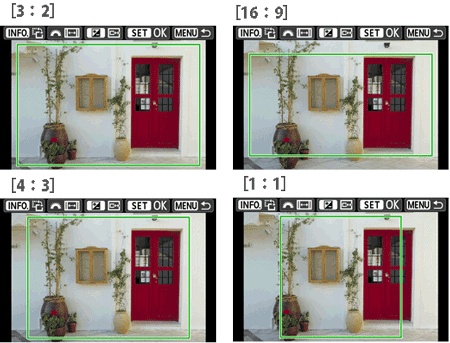
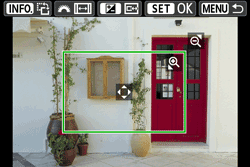
 > or <
 > button.
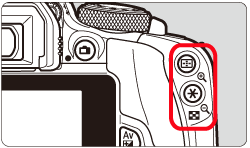
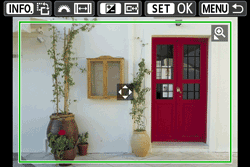

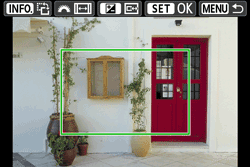
 > cross keys. The cropping frame will move up, down, left, or right.


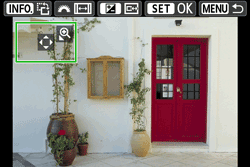
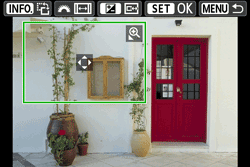

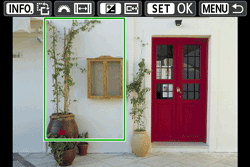
 > button. You can see the cropped image.
 > button again.

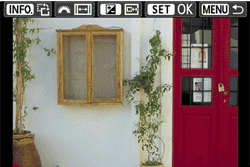
 > and select [OK] to save the cropped image.
