21-May-2019
8204314900
 .
.
 button.
 /
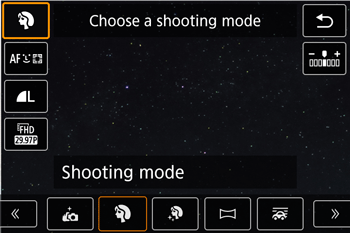
/  buttons to choose [ Shooting mode ].

 /
/  buttons to choose [
  ], then press the
  button.

 button, and then press the
  /
/  buttons to choose [ Color adjustment ] .
 /
/  buttons, to choose a setting option.
  button, and then press the
  /
/  /
/  /
/  buttons.
 button, and then press the
  /
/  buttons to choose [ MF ].
 button, and then tilt the camera so that the stars to capture are inside the frame displayed.
 button to start adjustment.
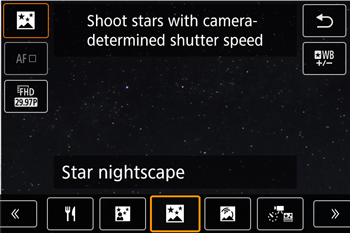
 [ Night display ] to [ On ] in this mode.
 [ Star emphasis ] -> [ Sharp ]. To emphasize the bright stars in a starry sky, set to [ Soft ]. This setting can produce eye-catching shots by enlarging bright stars while de-emphasizing dimmer stars. To disable starlight processing, select [ Off ]. Note that in bright scenes, images are not processed to emphasize stars, even when set to [ Sharp ] or [ Soft ].