11-Jun-2019
8204344300
 , and camera setting procedures are indicated by the
  icon.
icon. 1. Confirm the smartphone's settings.
 2. Download Camera Connect from the Google Play and install it on the smartphone.
 3. Turn the camera on.
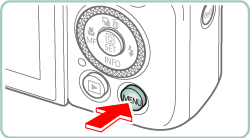
 4. Press the
  button.
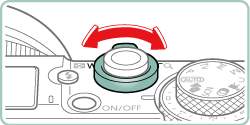
 5. Use the zoom lever to choose the [
  ] tab.
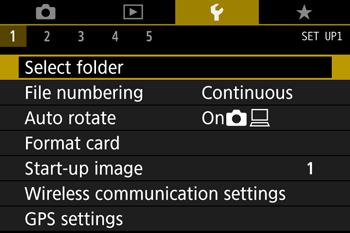
 6. Press the
  /
/  buttons to choose [
  1 ].
1 ].

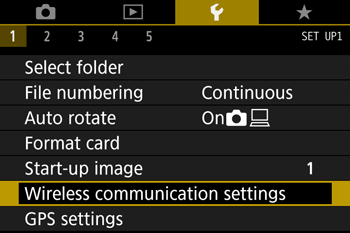
 7. Press the
  /
/  buttons to choose [Wireless communication settings], then press the
  button.

 8. Press the
  /
/  buttons to choose [Bluetooth function], then press the
  button.
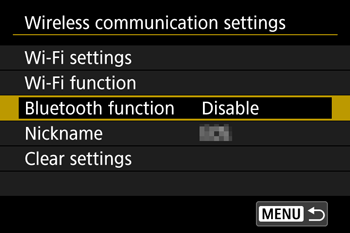
 9. Press the
  /
/  buttons to choose [Bluetooth function] again, then press the
  button.
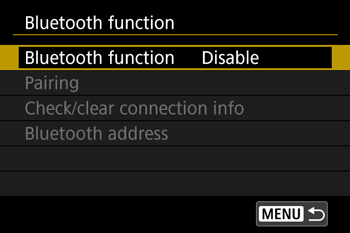
 10. Press the
  /
/  buttons to choose [Smartphone], then press the
  button.
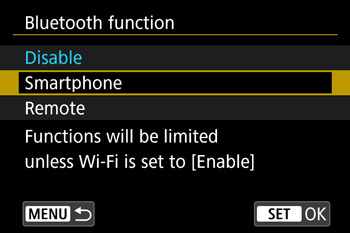
 button.
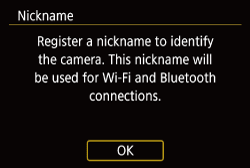

 button.
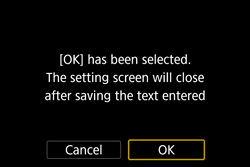
 /
/  buttons to choose [ OK ], and then press the
  button.

 /
/  buttons to switch to other screens.
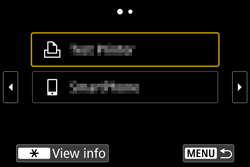
 11. Press the
  /
/  buttons to choose [Pairing], then press the
  button.
 12. Press the
  /
/  buttons to choose [Do not display], then press the
  button.
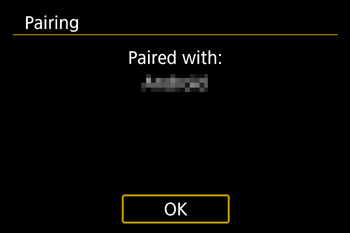
 13. A message is displayed indicating that pairing is in progress.
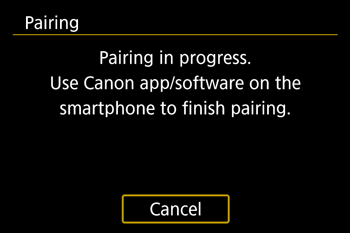
 14. Touch the [ Camera Connect ](
  ) application icon on the smartphone to start Camera Connect.
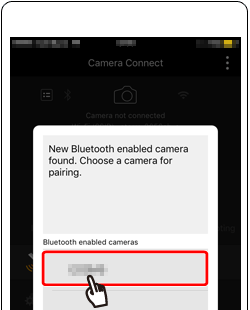
 15. After the camera is recognized, a camera selection screen is displayed.
 16. Press the
  /
/  buttons to choose [OK], press the
  button.
 17. Press the
  button of this screen.
 [ Wireless communication settings ] -> [ Bluetooth function ](twice) -> [ Disable ].
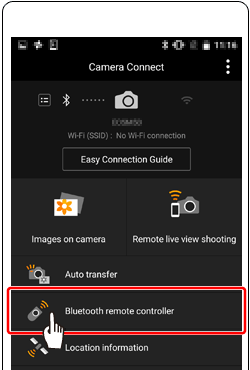
 18. Choose [Bluetooth remote controller] in Camera Connect.
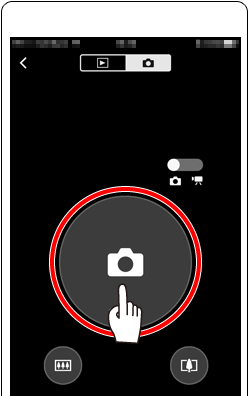
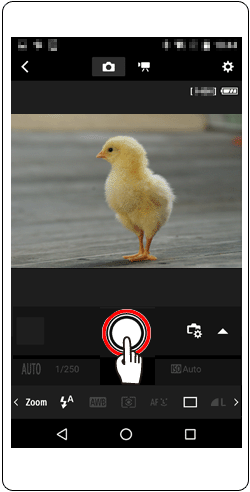
 19. The smartphone screen changes to a screen for remote control via Bluetooth.
 .
.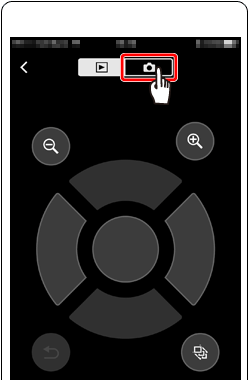
 20. Touch the
  to take a photo.
 1. Confirm the smartphone's settings.
 2. Download Camera Connect from the Google Play and install it on the smartphone.
 3. Press the
  button.
 button.

 button.

 /
/  buttons to choose [ OK ], and then press the
  button.

 /
/  buttons to switch to other screens.
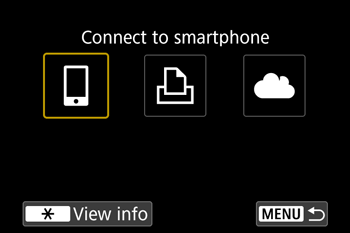
 4. Press the
  /
/  buttons to choose [
  ], then press the
  button.
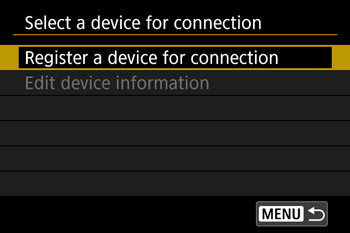
 5. Press the
  /
/  buttons to choose [Register a device for connection], press the
  button.

 6.
6.  /
/  buttons to choose [Do not display], press the
  button.
 7. The SSID (
  ) and password (
  ) will be displayed on the screen.
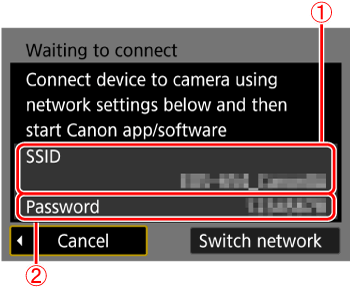
 8. Turn Wi-Fi settings to ON in your smartphone, choose the SSID (
  ) from step 7.
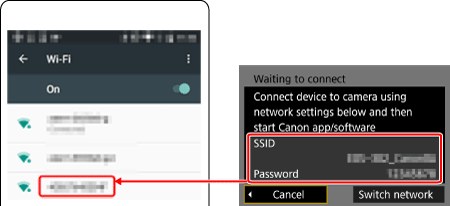
 9. Input password from step 7 (
  ).
). 10. Once the connection between the camera and the smartphone has been confirmed, press the home button to return to the home screen.
 11. Touch the [Camera Connect] (
  ) application icon on the smartphone to start Camera Connect.
 12. After the camera is recognized, a camera selection screen is displayed.
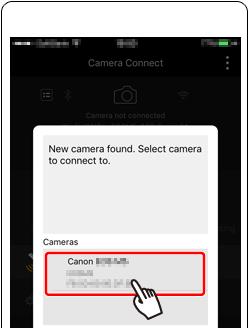
 13. Press the
  /
/  buttons to choose [OK], press the
  button.
 14. The camera screen will show [Wi-Fi on].
 15. Choose [Bluetooth remote controller] in Camera Connect.
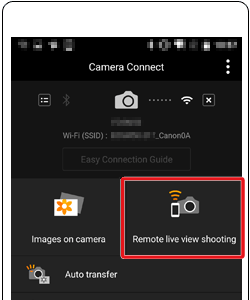
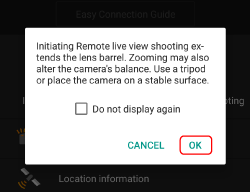
 16. The smartphone screen changes to a screen for remote control via Bluetooth.
 ] to take a photo.

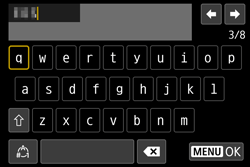
 | •Entering characters Press the  / /  / /  / /  buttons to choose the key of your desired character, and then press the buttons to choose the key of your desired character, and then press the  button. button. |
 | •Moving the cursor Choose [  ] or [ ] or [  ] and press the ] and press the  button. button.You can also move the cursor by turning the  ring. ring. |
 | •Switching input modes Choose [  ], press the ], press the  button to switch to capital letters. button to switch to capital letters.Choose [  ], press the ], press the  button to switch to numbers or symbols. button to switch to numbers or symbols. |
 | •Deleting characters Choose [  ] and press the ] and press the  button. The previous character will be deleted. button. The previous character will be deleted. |
 | •Confirming input After pressing the  button, press the button, press the  / /  buttons to choose [OK], press the buttons to choose [OK], press the  button. button. |