How do I set the Date/Time?
Solution

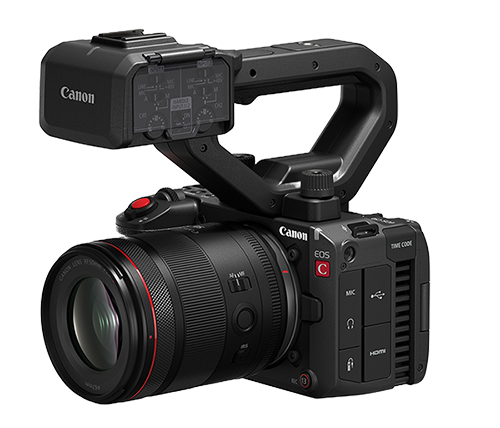
1. Turn on the camcorder.
2. Press the <FUNC.> button.
3. Use the joystick <  > to select the [
  MENU] icon and press <
  >.
>.
 > to select the [
  MENU] icon and press <
  >.
>.
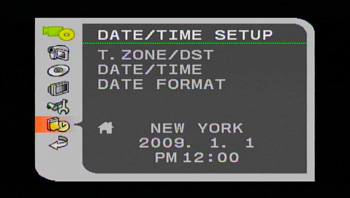
4. Use the joystick <  > to select the [
  DATE/TIME SETUP] menu and press <
  >.
>.
 > to select the [
  DATE/TIME SETUP] menu and press <
  >.
>.
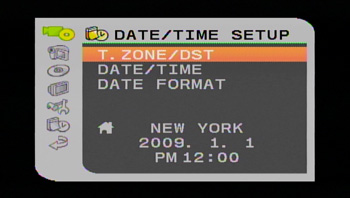
5. Use the joystick <  > to select the [T.ZONE/DST] option and press <
  >.
>.
 > to select the [T.ZONE/DST] option and press <
  >.
>.- The time zone setting appears. The default setting is New York.
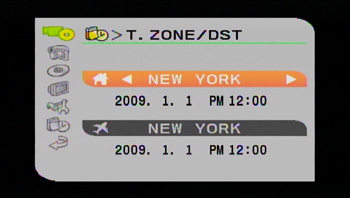
6. Use the joystick <  > to select your time zone and press <
  > to save the setting.
 > to select your time zone and press <
  > to save the setting.
- To adjust for daylight saving time, select the area name marked with a  .
.
 .
.
1. Use the joystick <  > to select the [DATE/TIME] option and press <
  >.
>.
 > to select the [DATE/TIME] option and press <
  >.
>.- The year display is marked with an orange selection frame.

2. Use the joystick <  > to select the year and push it to <
  > to move to the month setting.
 > to select the year and push it to <
  > to move to the month setting.
- The orange selection frame moves to the next display.
- Set the month, day, hours and minutes in the same way.
- If you do not need to change all settings, you can use the joystick <  > to move to a specific setting you want to change.
 > to move to a specific setting you want to change.
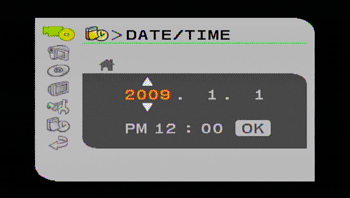
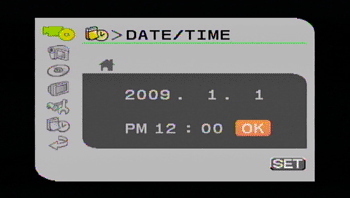
3. Use the joystick <  > to select [OK] and press <
  > to start the clock.
 > to select [OK] and press <
  > to start the clock.
CAUTION
- When you do not use the camcorder for about 3 months, the built-in rechargeable battery may discharge completely and the date and time setting may be lost. In such case, recharge the built-in battery and set the time zone, date and time again.


