01-May-2017
8203306900
 icon, and camera setting procedures are indicated by the
  icon.
icon. ] : high, [
  ] : medium, [
  ] : low, [
  ] : weak
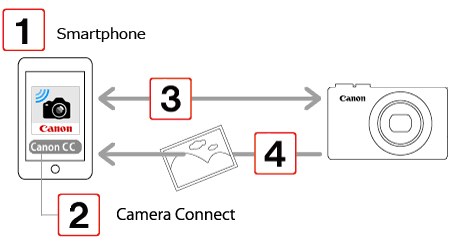
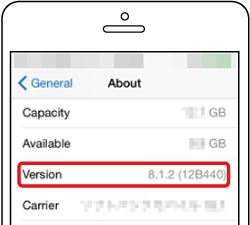
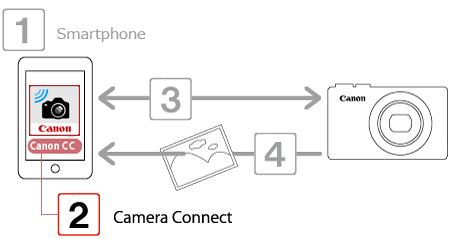
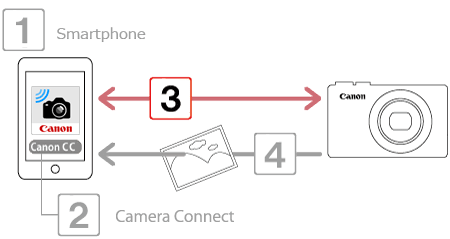
 : Confirming the smartphone's OS version
  : Installing Camera Connect on the smartphone and setting Wi-Fi to ON
 : Connecting the camera to the smartphone
 : Sending images to the smartphone
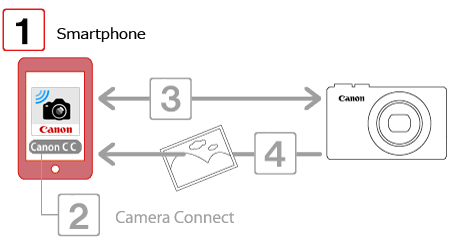
 1. Check the smartphone’s specifications.
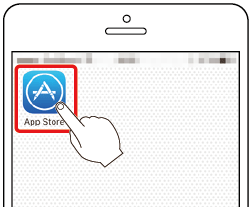
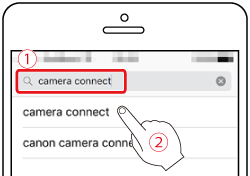
 1. Touch the [App Store] application on your smartphone to access the App Store.
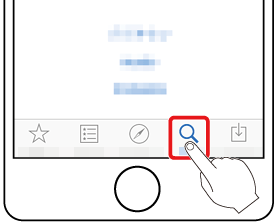
 2. Touch the search icon.
 3. Enter "Camera Connect" as the keyword in the search field
  and then touch the search icon
  .
.
 4. Choose [Camera Connect] from the displayed search results, and install it on the smartphone.
 5. Touch [Settings].
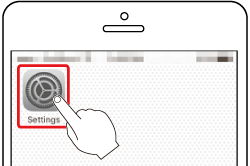
 6. Confirm the smartphone's settings.
 Touch [Wi-Fi].
 Set the [Wi-Fi] switch to [ON].
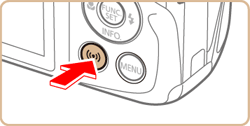
 1. Press the [
  ] button.
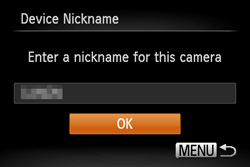
 ], [
], [  ] buttons to choose the input field, press the [
  ] button to display the keyboard, and then enter the desired nickname. After you have finished entering the nickname, press the [ MENU ] button to return to the registration screen, press the [
  ], [
], [  ] buttons, choose [OK], and then press the [
  ] button.
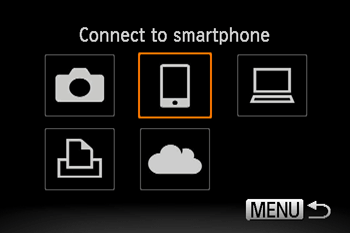
 2. Press the [
  ] , [
] , [  ] , [
] , [  ] , [
] , [  ] buttons to choose [
  ], and then press the [
  ] button.
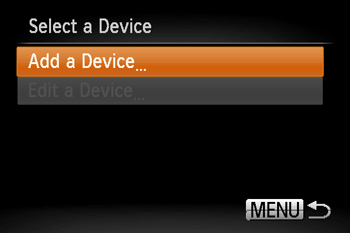
 3. Press the [
  ] , [
] , [  ] buttons to choose [Add a device], and then press the [
  ] button.
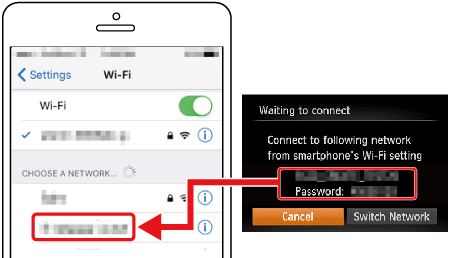
 4. The camera’s SSID and password are displayed.
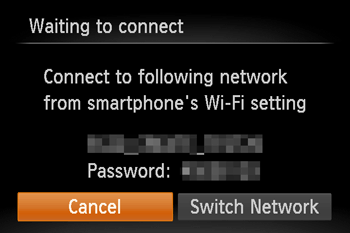
 5. In the smartphone’s Wi-Fi setting menu, choose the SSID (network name) displayed on the camera to establish a connection. In the password field, enter the password displayed on the camera.
 6. Tap the [Camera Connect](
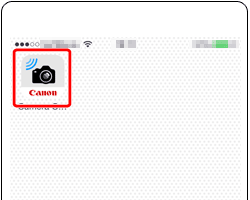
  ) application icon on the smartphone to start [Camera Connect].
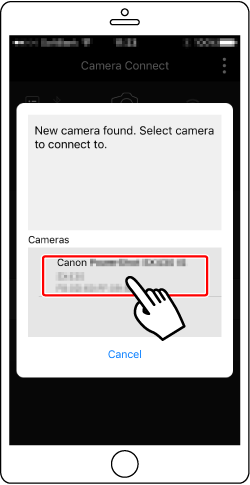
 7. Press the [
  ], [
], [  ] buttons to select [Yes], and then press the [
  ] button.
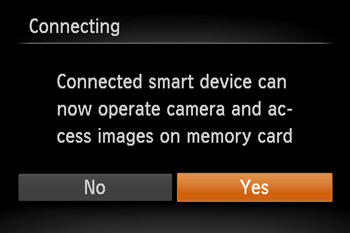
 8. Once you have connected to the smartphone, a screen like the one below will appear.
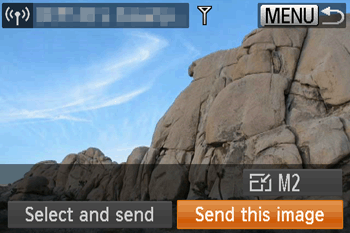
 ] button to open the Wi-Fi menu after the first time, recent destinations will be listed first when you access the Wi-Fi menu. You can easily connect again by pressing the [
  ] , [
] , [  ] buttons to choose the device and then pressing the button [
  ]. To add a new device, display the device selection screen by pressing the [
  ] , [
] , [  ] buttons and configure the setting. If you prefer not to display recent target devices, choose [MENU] -> [
  ] tab -> [Wireless settings] -> [Wi-Fi Settings] -> [Target History] -> [Off].
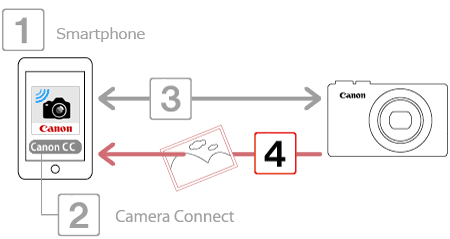
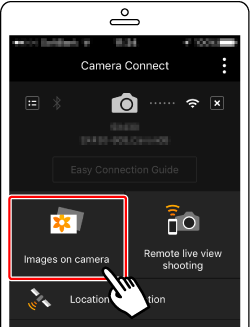
 1. Touch [Images on camera] in Camera Connect.
 2. Use the smartphone to import images from the camera to the smartphone.
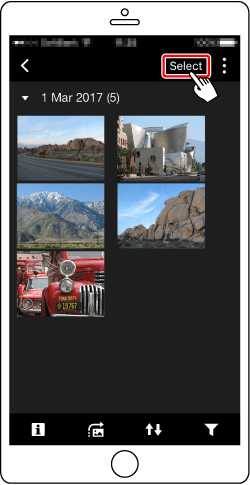
 3. After the screen refreshes,
  choose the desired images, and then
  touch [
  ] on the bottom right of the screen. The selected images will be saved to the smartphone.
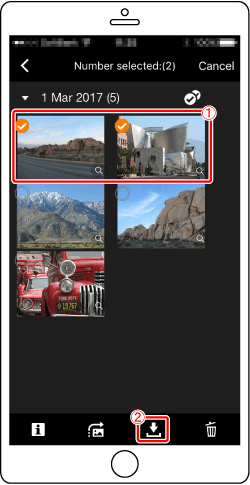
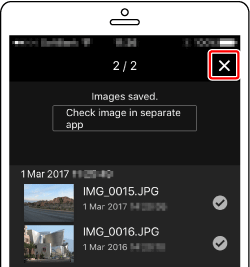
 4. After the images have been saved, touch [
  ] appearing in the upper right of the screen, and then touch [
  ] in the upper left of the screen to return to the menu screen.

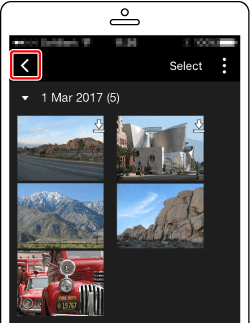
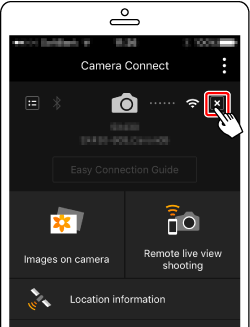
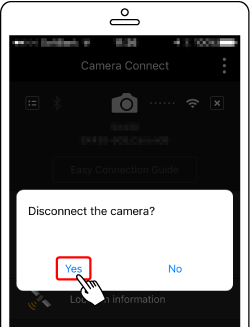
 5. To end the connection, touch the [
  ] icon displayed in the upper right of the screen, and then touch [Yes].